Tuesday, July 31, 2012

Santa Cruz Mountains Challenge: A ride report


Quarter way in...
Quarter way in the right, about to enter Big Basin State Park
At Saturday’s first water stop at mile 10 after climbing up Mountain Charlie on the Santa Cruz Mountains Challenge (we were riding the century version) , both M. and I were having such a hard time that we didn’t know if we could get to lunch, much less finishing the ride. I was at the tail-end of a 2-week bout with a cold that gave me incessant coughs and smothered my lungs with slimy fluids. Unfortunately I gave that cold to M. a couple of days into it and she was suffering the consequences also. The entire climb up Mountain Charlie I can hear her more-hurried-than-usual breathing, and she was sagging back on the climb—unusual for us as she has always been the better climber between us. At the time I felt disappointed, but a little resigned also given what we have gone through in 2012, getting a cold less than 2 weeks before a difficult ride is simply a confirmation that this isn’t the year for us.


The year 2012 has been a tough one, unexpectedly. We signed up for a challenge at our local spinning studio to train for and complete a challenging cycling event in late 2011 and started the training really well. We followed the base phase fairly religiously, and worked up our mileage in December to about 70 miles. And at the end of the year we were able to ride over the top of Santa Cruz mountains with a touring load at our end-of-the year tour. We even participated in the 3-hour year-end spin class.

Soon after that, a string of circumstances hit us which left us dealing with the aftermath ever since. We flew to S. Carolina to attend to M’s mom in January, and she passed away soon after that in February. M. had a series of health issues (probably stemmed from the trauma of loss) that prevented her from doing any exercise for about 6 weeks. While I continued to train and was still on target to ride our initial planned event for the Challenge the Davis Double, it became apparent that M. wasn’t going to be ready. We decided to switch our target to the Santa Cruz Mountains Challenge (SCMC), which was later in the year. While SCMC only had half the length as the Davis Double, it has almost twice as much climbing (> 11000 ft of elevation gain).

Heading into Big Basin State Park
Corner of HWY 9 and Big Basin HWY
I was able to attend spin classes in May and June and we rode outside with increasing distance almost every week in those two months. All the while wearing our HRMs and keeping a tap on our efforts. I was on track at the end of June, after riding brevet style (unsupported) from Ukiah to San Francisco in approximately 10 hours—the best time I have ever done for a 200k ride. July turned out to be super busy for us with a combination of work and school. We rode in Mt Tam 3 weekends in July with increasing amount of hill climbs to prepare for the SCMC, and began felt confident that we would be able to complete the event. Then on 12 days before the event, I felt a scratch in my throat, and despite my best effort to fight it off, the cold floored me, then M. for the next week and half.

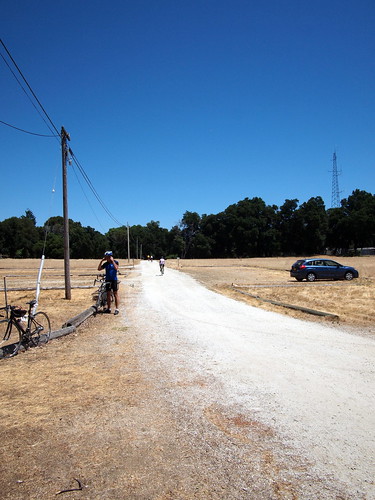
Back to the water stop at mile 10 before the turn onto Bear Creek Road. We told each other that we will try to do our best, and just enjoy the ride. We rode on with a sense of resignation, but also felt more relaxed. We got to the first full rest stop at mile 20 at Skyline. After chowing down rest-stop food, and looked at the map, we realized that we had climbed 3500 feet in the first 20 miles, and therefore had completed 1/3 of the climbing already! With this realization came the encouragement that we might be able to get close to finishing the ride after all.

Let me go back to Mountain Charlie Road, which was the first climb of the day. It started at mile 2, and went up almost 1500 ft (including two side streets near the top) in 4 miles to Summit Road on a narrow, winding, and absolutely beautiful road. We are accustomed to much more warming up than the rolling first 2 miles leading up to the foot. Lots of very fit cyclists passed us on the way up and made the climb seemed easy, but it was definitely a beast. It was on this climb that we were shaken and felt strong doubts about our ability to finish.

Ebisu at Park Headquarter
Ebisu at the Headquarter of Big Basin State Park
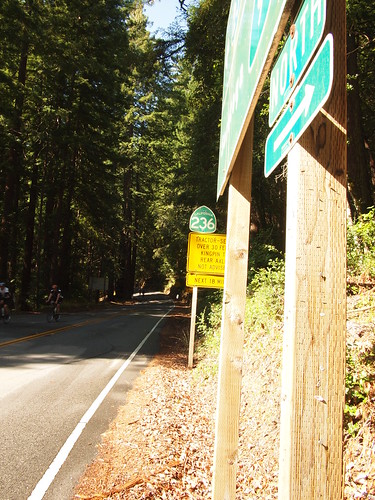
The second major climb of the day is Jamison Creek Road in Big Basin State Park 20 miles after the first full rest stop. The transitional section is a gorgeous stretch of rolling, quiet, covered, and beautiful roads in and near Big Basin State Park. Jamison Creek is relatively a short climb in comparison with the long cols of the Death Ride, but rises up sharply. The route sheet says that Jamison Creek climbs 1500 ft from HWY 236 to Empire Grade in 3 miles. Not all three miles of this road are equal, either. The road starts out relatively gently to pull you in, making you think that you are having a good day on a famously steep road, then all of a sudden a “gotcha” hits you in the face approximately half way in, as gradients hit up to 14% or 15% all the way to the end. 

M's Ebisu after Jamison Creek Climb
M's Ebisu taking a break after Jamison Creek
Me at the top of Jamison Creek
M. and I separated near the bottom to each do our own climb. I got down to my lowest gear—34/30T pretty quickly, and tucked in, in a seated position. I tried to find a good rhythm and not getting off the saddle too much, in an effort to conserve some energy. Many riders passed me, pounding on their pedals off the saddle, but several of them had to stop and take a break as I steadied past them later. In the end, I didn’t have any energy left in my tank to get off the saddle and power up near the top, but did manage to spin my way there without stopping—my original objective. SCMC organizers timed every participant, and I clocked in at 39 minutes and change--definitely in the bottom quartile and a far cry from the fastest time of 20 minutes. M. came up a minute or so later. We were both gassed, and even though lunch was only short 1.5 miles away, we sat on the chairs provided by the water stop folks at the top for a good 5 minutes before rolling again. Without the cold and more training on steep hills, hopefully I can ride approaching the low 30 minutes next time. 

The only dirt section of the day--outside the lunch stop
The intervening miles between the top of Jamison Creek and the final hard climb of the day Zayante Road have some amazing stretches of descents (Pine Flat Road, Ice Cream Grade, Felton Empire Road). I wish I stopped more to take more pictures. M. overshot a turn and ended up a ways down on Bonny Doon, and I went down hill after her after not seeing her catching up and realized what was happening. We ended up climbing the famous (via Tour of California exposure) Bonny Doon road back to the course. The final big climb of the day is Upper Zayante, which is at mile 70 or so, 24 miles after lunch. Zayante is a very nice climb, shaded and quiet, with glimpse of the valley below. It was also deceptively long and hard. We chatted with each other and spun our way up. After that, it was a set of rollers and a long descent back to the finish.

Because of the detour, we ended up being one of the last people finishing, even though we both felt pretty good at the end. It is by far the most difficult ride we did in 3 years since the Shasta Super Century we struggled through in 2009. 

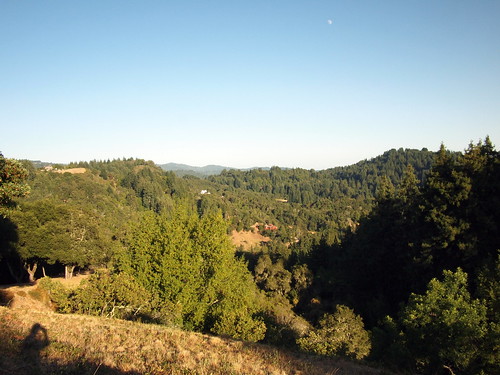
A nice view near sunset; near completion of the ride
SCMC is a great route, and the metric double version is a way to get close to Death Ride territory in terms of distance and elevation gain without the long travel, the heat, the crowd, and the altitude. We highly recommend it! For those brevet-minded folks, the Santa Cruz Randonneurs used to run a Big Basin 200k, which is advertised to be the hilliest 200k in the U.S. (though several mixed-terrain 200k organized by the San Francisco Randonneurs, my home club, might top the climbing statistics of Big Basin 200k). The Big Basin 200k starts in Palo Alto and winds through much of the first half of SCMC before ending up in Davenport on the coast, then traces the route back to Palo Alto. 

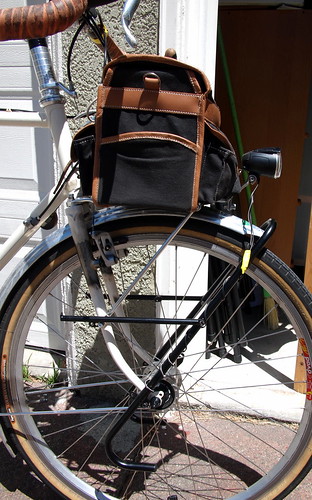
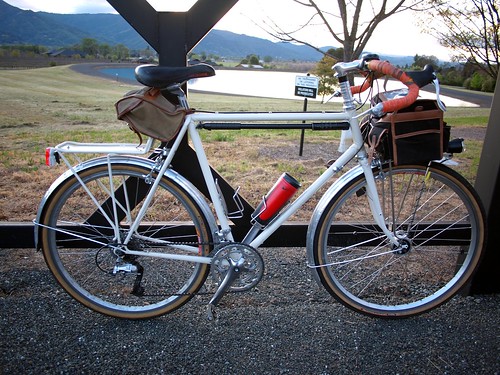
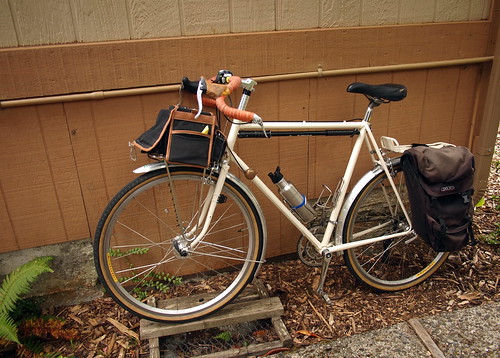
I was about the only person riding a randonneuring machine, and many roadies, friendly or not, made sure I know about it. There was another guy on a Klein that had metal fenders on. I was chatting with an older gentleman riding on a carbon fiber Time about our respective machines. I think my set up might be close to a full 10 lbs lighter than his (mine weighs in at about 27 lbs with rack, fenders, and a bag). I told him that I lost almost 20 lbs in the last year, which more than cover than 10 lbs differential between his and my bike. Both of our Ebisu performed really well for us--smooth and comfortable, responsive during spirited pedaling, and no creaking sounds throughout the ride! My 42mm tires allow me to keep my lines on several long descents where the pavement is rough. On a well-supported ride in the Bay Area summer I should be able to ride an open-wheel lightweight racing machine, but the Ebisu isn't really what's holding me back--that would be my own legs. 

Sunday, July 22, 2012

Specialized Sequoia Modification Part 2

After staring at the initial configuration of the Sequoia after it came back from some frameset modifications, I decided that the large-size Nitto front rack is a bit too large and mounts too much forward for my liking. This beautifully made and strong rack resembles the Highrider Rack that Rivendell sold for a while, but has additional accommodations for attaching detachable lowrider attachments. Rivendell describes this rack on its website as a rack that carries the load in the front a little higher than contemporary front pannier rack. For randonnering purposes and the low trail fork on the Sequoia, the rack isn't that high, but it certainly sit very much forward. Further, the light mounted on the front of rack looks almost ridiculous in how forward it sit. I thought about mounting the light lower and closer to the bike, but the front of the rack seems to be the only reasonable place to attach the front light, as light mounted anywhere on either side of the rack would likely obstruct panniers hanging either on the top rails, or on the lowrider attachments when they are installed.

At the end, I think the combination of a Mark's Rack and a Tubus Tara lowrider rack is better looking and ligher than the aesthetics that the Nitto big rack brings with it. And both configurations allow me to carry a front bag and two panniers. The only advantage the Nitto front rack has is that I can carry heavier and bulkier objects such as a tent, a sleeping bag, or a sleeping pad on the top while hanging the panniers on the side. But I will think of something to address that issue later.

I also took a couple of pictures of the fender bit that allows me to not use a L-bracket clamp on the rear fender. These pictures show the progression that the Sequoia went through since I bought the frameset last year:


Summer 2011; Stock fork; Blackburn rear rack; VO front rack; Rivendell Banana bag
Summer 2011; VO front bag; Shimano Dynamo Wheel and B&M IQ CYO light added
Early Spring 2012; Kogswell Konversion Fork
Late Spring 2012; on tour; Axiom pannier on rear rack; Rivendell Banana bag removed
Summer 2012; Cantilever posts added; Selle San Marco Ischia Saddle; Mudflap and rear light attached to fender; Nitto Highrider front rack; Avid Shorty 4 brakes
Summer 2012; Nitto Mark's Rack and Tubus Tara Rack


Tuesday, July 17, 2012

Specialized Sequoia Modifications Part 1

In my last blog post I wrote about some planned changes to my Specialized Sequoia, the most serious of them being adding cantilever posts to the frameset. I dropped the semi-disassembled frameset at Mike Cleaver's new shop in Berkeley last week, and went about planning and getting other parts for other application, like selling some bike parts to fund the metal work, etc. I got the frameset back from Cleaver last night and built it up in the early hours of this morning before work.

Cleaver did a great job welding Paragon cantilever posts to the fork and the seat-stays. He welded them on, then covered the welds by brazing copper fillets on them. The work looks clean, straight, and well-aligned. Cleaver's new workshop is in a community space with 27 other artisans--definitely worth a visit. He is pretty responsive and gave me back the frameset within the agreed upon period. His new tandem looks rad, also.

I rattle-canned the bare-metal spots with satin-finish clearcoat--a strategy I employed on M.'s old Trek when it got modified and worked well. With the wheels and fenders still off I cleaned up the bike with a damp cloth first. I got this neat little bit from Somervillebikes of Flickr. The bit is fasten to the rear brake bridge with a threaded brake bolt, and it has a downward facing threaded tap for the fender to attach from the bottom. I installed the rear fender, then put the rear wheel back on. I then installed the new-to-me Avid Shorty 4 cantilever brakes. Some people don't like these brakes for difficulty in setting up and lack of stopping power. I used them on my old Raleigh One-Way and they worked pretty well for me--easy to set up, stopped well, and no squeal. I got a bike's worth of them for under $20 so it's worth a try again.

Now I have to decide what rack I want to use with this set up. I have acquired a Nitto big front rack (that comes with detachable low-rider attachments) over the weekend and it's between using this rack or a combination of a Mark's Rack and a Tubus Tara. Nitto got the nod at this moment. I have to play around with which holes to use for attaching to eyelets at the dropouts, and have to use mucho spacers to attach the rack to the front fender without ruining the fender line. Then I have to find a place to mount the B&M IQ Cyo lamp. At the end every piece fit together. Though I have yet to road-test the new set up. It at least looks nice!

The final touch is the addition of mudflap and rear light mount on the rear fender. I always dreaded putting mudflap on but it's courteous to ride with a mudflap when you are riding with people in wet weather. It was actually pretty simple to create mudflap out of rubber/plastic sheets from the hardware store then mount it together with the rear light mount. I think the result looks pretty good. We won't know how it works until a few months from now, when it begin to rain again in this part of the world.

Tuesday, July 3, 2012

Planned Modification for Specialized Sequoia

how the bike was set up initially
after almost a year, I have spent more than 1000 miles on the Sequoia. I think the bike is mostly where it needs to be in terms of position. The tubing on this bike responds well to my pedaling with planing-like behavior. Yet when I get off the saddle with a load on, the bike doesn't feel noodly at all. The low-trail fork allows me to measure my input more precisely, and is pretty impervious to weight in the front bag. I don't know if the shorter wheelbase has anything to do with it, but I have ridden on long rides with a significant load (~ 15 lbs) in a rear pannier and the bike doesn't fight me when I ride out of the saddle. I really like how the bike rides overall and happy with the decision to keep this bike instead of its two predecessors--the Rawland cSogn and the Rivendell Bleriot.
How the bike is set up today

When I was building it up, I did not put too much thinking at the time. I simply threw all the parts on my old Rivendell Bleriot on it. Even though I replaced the fork few months later, and had to replace the headset in the process, there are still several details on this bike that I am not 100% satisfied with.

The first and most glaring weakness for me, is the bike's brakes. Currently I am using Dia Compe 750 centerpull brakes that I used on the Bleriot. They do an adequate job of braking, though when the bike is loaded and coming down on a long descent, I still find the stopping power wanting compared to cantilever brakers I have on my other bikes. Even though the braking power is mostly adequate, and stronger compared to ultra-long-reach sidepulls such as the Tektro 556, I couldn't get used to the hand feel as I am braking. To me, it lacks the crisp feeling that a good cantilever brakes generate at the brake levers. 

The second part that I have been mostly OK with, but would prefer to improve upon is the front rack. I have been using a VO front constructeur rack, also from the Bleriot. The rack is actually quite sturdy and even looks pretty nice, but I want a rack that has mounting point higher than the dropout eyelets, as I want to use my Tubus Tara lowrider rack when I have to carry a load on tours. The VO rack also makes putting the bike on the front rack of a bus less secured, as I can't swing the clamp as far back on the front wheel as I can with a rack that mounts on the mid-fork braze-on or higher.

Another aspect of the bike that wasn't dialed in completely was the saddle position. Because of the steeper seat angle on the Sequoia, and the slightly shorter top tube (even though the bike has a 58cm seat tube, it only has a 56cm top tube), I feel slightly cramped when I reach for the handlebar. 

Finally, even though I have created a kind of attachment using Ortlieb lower hooks on the bottom side of the VO Campagne bag and it sits very well and secured on the rack, the hook does allow the bag to rattle slightly to make just enough noise, especially on rougher pavement or descents, that is beginning to bug me.