 In the summer, I built up a 80's Specialized Sequoia using parts from an outgoing Rivendell Bleriot. I like the Bleriot a lot, but the Sequoia was livelier and with similar Geometry. I converted it to using 650b wheels. The only aspect of the bike that I was nitpicking in my mind was the fork geometry. Ever since I purchased the Kogswell P/R and my Ebisu All Purpose, which have low- and medium-trail respectively, I have come to prefer that type of front end geometry. The Sequoia was fun as it were, but the handling doesn't track my input as well as my other two bikes, and on steep climbs the bike wanders a little more than I prefer. An acquaintance was selling his first-gen Kogswell P/R fork (that has high fork rake offset) and I jumped on it, but quickly realized that the P/R fork has 1 1/8" steerer, and the head tube for the Sequoia takes 1" steerer.
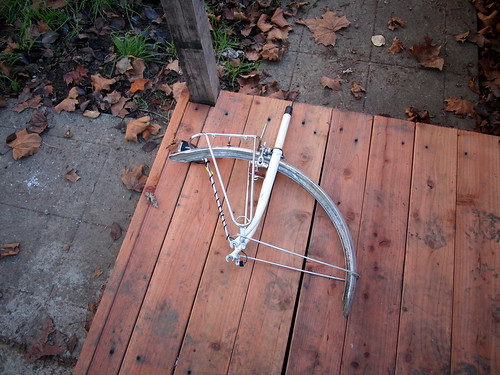
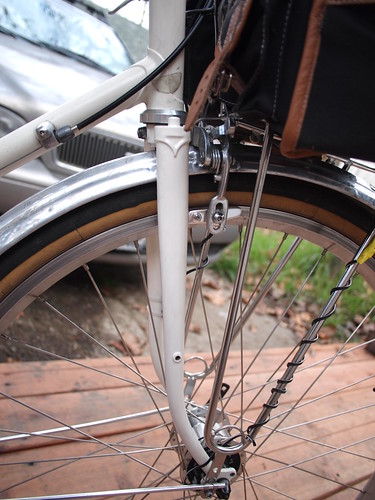
I posted a message on the Kogswell Owners' Group to solicit a trade, and Kurt from Alberta responded. He had in his possession a Kogswell Konversion fork that has 64mm of fork offset and 1" steerer and he was looking to get a 1 1/8" high offset fork for his 2nd-gen P/R. After confirming that we had what the other person wanted, we shipped the forks to each other. The Koversion fork was painted custard like the first-gen P/R. I found a powder coater and painted as close to the vanilla paint on the Sequoia frame as possible. I also purchased a set of home-made headset tools--including a headset press, a cup remover, and a crown race installer--from eBay so I can swap out the headset, since the Konversion fork has a theadless steerer.
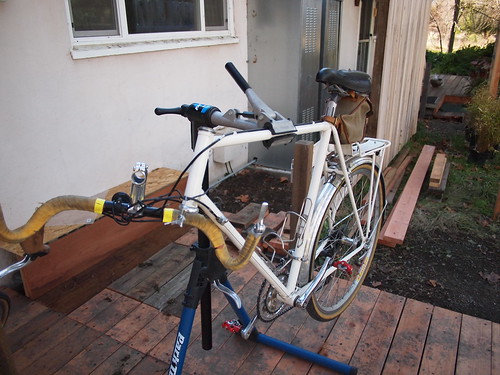
I have left the Sequoia in Ukiah, where I work several days during the week. M. and I were spending a weekend there in January so I brought the tools and the necessary parts up to perform the replacement. I was using VO threadless stem with a VO stem adapter on the Sequoia, which makes changing the stem a piece of cake. I had to remove the stem adapter since the threadless stem now will clamp on the steerer (with the help of a 1" to 1 1/8" shim) directly. I also had to find lots of aluminum steerer spacers as I purposely kept a large portion of the steerer tube so I can keep the handlebar at the same height as the saddle. After the old fork came off with the rack and the fender, I removed the headset cups and the crown race, and installed the new crown race and the new cups.
Using the headset press required lining up the washer with the cup and turning the nut slowly to press the cup in the tube. After a couple of attempts the cup went in well. I greased up the sealed bearing and assemble the headset along with the fork. After piling on the spacers, I clamped the stem back on and adjusted the preload. Getting the rack and the fender back on the new fork took a little more effort, as the difference in the offset meant that a little stretching was needed for the front rack to be fastened to the rear-facing eyelets.
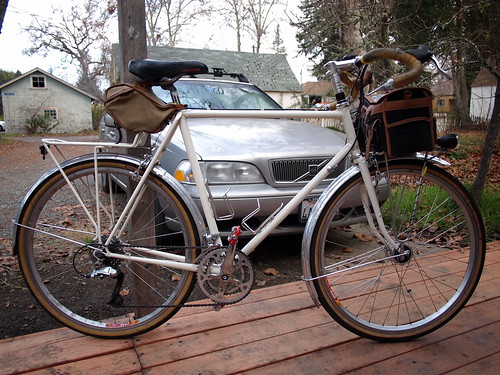
Once I secured everything, I realized that even though the cable/housing can reach all the braze-ons, they were definitely at their limits, so I planned to replace all the cables and the housings at a later date (which I did a month later). We went out for a ride near Ukiah, on old river road out to Hopland, then on Mountain House Road to the outskirt of Cloverdale before turning back. I have to report that I actually could tell the difference in handling and I definitely preferred it more, especially since I have a front handlebar bag mounted on the front rack. I haven't done a long ride yet, but plan to use the bike on an upcoming brevet. I will have more report on the converted bike after that.
More pictures from the ride:
No comments:
Post a Comment